Are you looking to take your vlogs to the next level? Have you ever wondered how professional vloggers achieve such immersive sound quality and captivating soundtracks? Look no further than GarageBand, Apple’s music creation tool and recording software that has revolutionized the way vloggers produce their audio content.
GarageBand offers a comprehensive suite of audio editing features, powerful recording capabilities, and seamless integration with other Apple devices. Whether you’re a beginner or an experienced vlogger, GarageBand can serve as your ultimate music production tool and podcasting solution.
In this article, we will dive deep into the world of GarageBand for vlogging, exploring its various features and capabilities. From setting up sound to recording tips and techniques, audio editing to post-production, synchronization with iMovie, and even creating original music, GarageBand has it all. Discover the potential of GarageBand and unlock your creative genius to captivate your audience like never before.
Key Takeaways:
- GarageBand is a powerful music production tool for vloggers, offering a wide range of features and capabilities.
- GarageBand provides tools for setting up sound, recording, audio editing, post-production, and integration with iMovie.
- With GarageBand, vloggers can create custom soundtracks, enhance audio quality, and synchronize audio with video effortlessly.
- GarageBand is a comprehensive podcasting solution, enabling vloggers to produce professional-quality audio content.
- By optimizing audio for mobile and web platforms, vloggers can deliver a consistent and enjoyable listening experience for their audience.
Introducing GarageBand as a Vlogger’s Music Production Tool
GarageBand is a versatile music production tool that has become a go-to resource for vloggers looking to enhance the audio quality of their content. With its user-friendly interface and powerful features, GarageBand offers vloggers the essential tools they need to create professional-quality audio for their vlogs.
The Essentials of GarageBand for Vlogging
GarageBand provides vloggers with a range of essential features and capabilities that are specifically tailored to their needs. These include:
- Recording Capabilities: GarageBand allows vloggers to easily record audio directly within the software. Whether it’s voiceovers, interviews, or ambient sounds, GarageBand offers a seamless recording experience.
- Audio Editing Tools: With GarageBand, vloggers can edit their audio tracks with precision. The software provides a wide range of editing tools, such as trimming, splitting, and arranging audio clips, allowing vloggers to polish their audio recordings.
- Integration with Other Apple Devices: GarageBand seamlessly integrates with other Apple devices, such as Mac, iPad, and iPhone. This allows vloggers to work across multiple devices and access their GarageBand projects on the go.
By leveraging these essential features, vloggers can enhance their vlogs’ audio and create a more engaging and immersive experience for their audience.
Benefits of Using Apple’s Music Creation Tool
Using GarageBand as a vlogger’s music production tool offers several benefits:
- Accessibility: GarageBand is available to all Mac, iPad, and iPhone users, making it easily accessible to vloggers. This means you can start creating high-quality audio content without the need for expensive software or equipment.
- Cost-Effectiveness: GarageBand is a free software provided by Apple, making it a cost-effective choice for vloggers who are just starting out or working with limited budgets.
- Compatibility with Various Audio Equipment: GarageBand is compatible with a wide range of audio equipment, including microphones, audio interfaces, and MIDI controllers. This versatility allows vloggers to connect their preferred audio devices and achieve the best possible audio quality for their vlogs.
By utilizing GarageBand as their music production tool, vloggers can take their audio to the next level and deliver a professional sound that captivates their audience.
Setting Up Your Vlog’s Sound with GarageBand
Setting up the sound for your vlog is essential to ensure the capture of high-quality audio. By leveraging the powerful features of GarageBand, vloggers can enhance the audio experience for their viewers. This section will guide you through the process of setting up your vlog’s sound using GarageBand, covering important aspects such as microphone selection, proper placement, soundproofing, and connecting audio interfaces for improved sound quality.
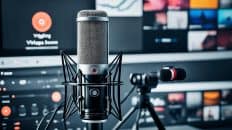
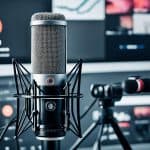
To start, let’s discuss the selection of the right microphone. Choosing a microphone that suits your vlogging needs is crucial for optimal audio recording. Consider factors such as microphone type (condenser, dynamic), polar pattern (cardioid, omnidirectional), and budget. Research various microphone options to find the one that best complements your vlogging style and environment.
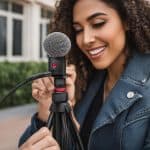
Once you have chosen the appropriate microphone, it’s time to focus on proper placement. Positioning your microphone correctly will help capture clear and balanced audio. Experiment with different microphone placements to find the sweet spot that provides the best sound quality. It is recommended to position the microphone close to your mouth, slightly off to the side, to minimize unwanted background noise.
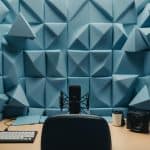
Soundproofing plays a significant role in eliminating unwanted noise and enhancing the overall audio quality of your vlogs. Consider the acoustic characteristics of your recording environment and implement soundproofing techniques accordingly. This may involve using acoustic panels or foam, sealing gaps and openings, and minimizing external disturbances.
“Proper placement of your microphone ensures clear and balanced audio.”
Lastly, connecting audio interfaces to GarageBand can further enhance the sound quality of your vlogs. Audio interfaces serve as a bridge between your microphone and computer, allowing for improved audio recording capabilities. They provide features such as preamps, analog-to-digital converters, and multiple input options, enabling higher fidelity and more control over your sound. Connect your audio interface to GarageBand and explore the additional functionalities it offers.
By following these steps and utilizing GarageBand’s tools and functionalities, you can ensure clear and professional audio for your vlogs. Take the time to set up your vlog’s sound appropriately, and you’ll notice a significant improvement in the overall audio quality of your content.
Connecting Instruments and Recording Equipment to GarageBand
GarageBand provides vloggers with the ability to connect instruments and recording equipment to enhance the audio quality of their vlogs. By integrating external instruments and microphones into GarageBand, vloggers can achieve a professional sound that captivates their audience.
Using Audio Interfaces with GarageBand
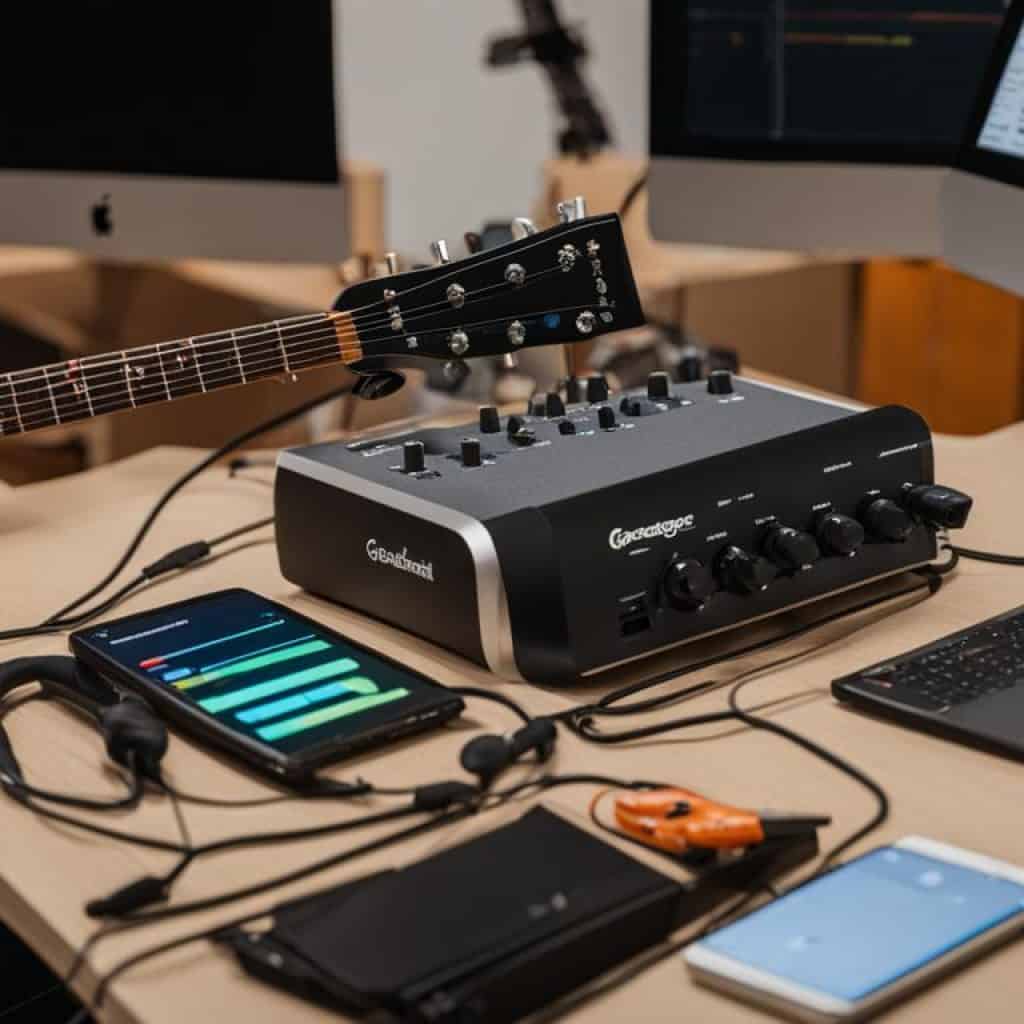
To connect instruments and microphones to GarageBand, vloggers need to utilize audio interfaces. These devices serve as the bridge between analog instruments and GarageBand’s digital recording environment. When choosing an audio interface, vloggers should consider factors such as the number of inputs and outputs, compatibility with their instruments and microphones, and the quality of the audio converters.
Once vloggers have selected the appropriate audio interface, they can easily connect their instruments and microphones to it. By utilizing the interface’s inputs, they can plug in their electric guitars, keyboards, or any other instruments, and enable real-time monitoring through their headphones.
Below is an example of a basic audio interface setup with GarageBand:
| Audio Interface | Connected Instruments/Microphones |
|---|---|
| Focusrite Scarlett 2i2 | Electric guitar, condenser microphone |
| M-Audio M-Track 2X2 | Keyboard, dynamic microphone |
Image:
Optimizing Sound Quality for Vlogging
Optimizing sound quality is crucial for creating engaging and professional-sounding vlogs. GarageBand offers various built-in features that vloggers can utilize to enhance their audio recordings.
Here are some sound optimization techniques within GarageBand:
- EQ (Equalization): Adjusting the frequency balance of the audio to enhance specific tones or reduce unwanted frequencies.
- Compression: Controlling the dynamic range of the audio to even out volume levels and improve clarity.
- Effects: Applying reverb, delay, chorus, or other creative effects to add depth and character to the audio.
By experimenting with these features and fine-tuning the settings, vloggers can achieve optimal sound quality that enhances the overall impact of their vlogs.
GarageBand for Vlogging: Recording Tips and Techniques
In order to create captivating vlogs, it is crucial for vloggers to prioritize the audio quality of their content. This section will provide valuable recording tips and techniques to help vloggers enhance the audio experience for their audience. By implementing these strategies, vloggers can ensure that their vlogs sound professional and engaging.
Simultaneous Video and Audio Recording Strategies
When it comes to vlogging, syncing video and audio is essential for a seamless viewing experience. To achieve this, vloggers can utilize simultaneous video and audio recording techniques. By using external microphones and syncing techniques, vloggers can capture high-quality audio that perfectly complements their video footage.
Pro Tip: Invest in a quality external microphone that is compatible with your recording setup. This will significantly improve the audio clarity and minimize background noise.
Furthermore, it is important to pay attention to the placement of the microphone during recording. Experiment with different positions to find the sweet spot that captures the best sound quality while minimizing any unwanted noise or echo.
Capturing Pristine Audio for Your Vlogs
To capture pristine audio for your vlogs, it is crucial to consider several factors. First and foremost, pay attention to the room acoustics. Avoid recording in spaces with excessive echo or background noise. If possible, utilize soundproofing techniques to minimize unwanted noise interference.
Additionally, ensure that your microphone is positioned correctly. Experiment with different distances and angles to find the optimal placement that captures clear and balanced sound. Consider using a pop filter to reduce plosive sounds such as “p” and “b” for a smoother audio recording.
Last but not least, always be mindful of the surrounding environment. Try to record in a quiet space to minimize any external distractions. Consider using a headphone monitor to actively listen to your recording in real-time and make necessary adjustments for a pristine audio outcome.
Tips for Recording Pristine Audio for Vlogs
| Tip | Description |
|---|---|
| Invest in a quality external microphone | A high-quality microphone will significantly improve audio clarity. |
| Experiment with microphone placement | Find the optimal distance and angle for capturing the best sound. |
| Consider using soundproofing techniques | Minimize background noise and unwanted interference. |
| Use a pop filter | Reduce plosive sounds for a smoother audio recording. |
| Record in a quiet environment | Avoid external distractions for a cleaner audio outcome. |
Enhancing Your Vlogs with GarageBand’s Audio Editing Features
Editing Your Vlog’s Audio with Precision
GarageBand provides vloggers with a wide range of audio editing features to enhance the audio quality and overall production value of their vlogs. With GarageBand’s precise editing capabilities, vloggers can fine-tune their vlog’s audio to perfection.
When editing your vlog’s audio in GarageBand, you have the ability to trim, split, and arrange audio clips with ease. This allows you to remove any unwanted sections, adjust the duration of audio segments, and create a well-paced and engaging audio experience for your viewers. By using GarageBand’s precision editing tools, you can ensure that every second of your vlog’s audio contributes to the overall narrative and keeps your audience captivated.
To edit your audio with precision in GarageBand:
- Select the audio clip you want to edit and position the playhead to the desired starting point.
- Use GarageBand’s trimming tool to remove any unwanted sections by dragging the trim handles.
- Split your audio clip at specific points to create separate segments or make adjustments in different sections of your vlog.
- Rearrange the order or position of your audio segments by dragging and dropping them within the GarageBand workspace.
By applying these precision editing techniques, you can create seamless transitions, maintain a consistent flow, and convey your intended audio message with clarity.
Utilizing GarageBand’s Live Loops and Music Editing Tools
GarageBand offers vloggers a range of creative tools to elevate their vlogs’ audio editing experience. One of these tools is the Live Loops feature, which enables you to create custom soundtracks using pre-recorded loops and samples.
To use Live Loops in GarageBand:
- Select the Live Loops tab in the GarageBand toolbar.
- Browse the available loop collections and select the ones that suit the mood and theme of your vlog.
- Drag and drop the loops into the Live Loops grid to arrange them and create unique compositions.
- Experiment with different combinations, adjust the tempo, and add effects to add depth and creativity to your vlog’s audio.
In addition to Live Loops, GarageBand provides a range of music editing tools, such as EQ, compression, and effects. These tools allow you to refine the audio characteristics of your vlogs and achieve a professional, polished sound.
With GarageBand’s audio editing features, including precision editing and Live Loops, vloggers have the power to transform their vlogs’ audio into immersive and captivating soundscapes. Whether you’re enhancing speech recordings, adding background music, or creating custom soundtracks, GarageBand equips you with the tools you need to deliver high-quality audio to your viewers.
GarageBand’s Role in Post-Production
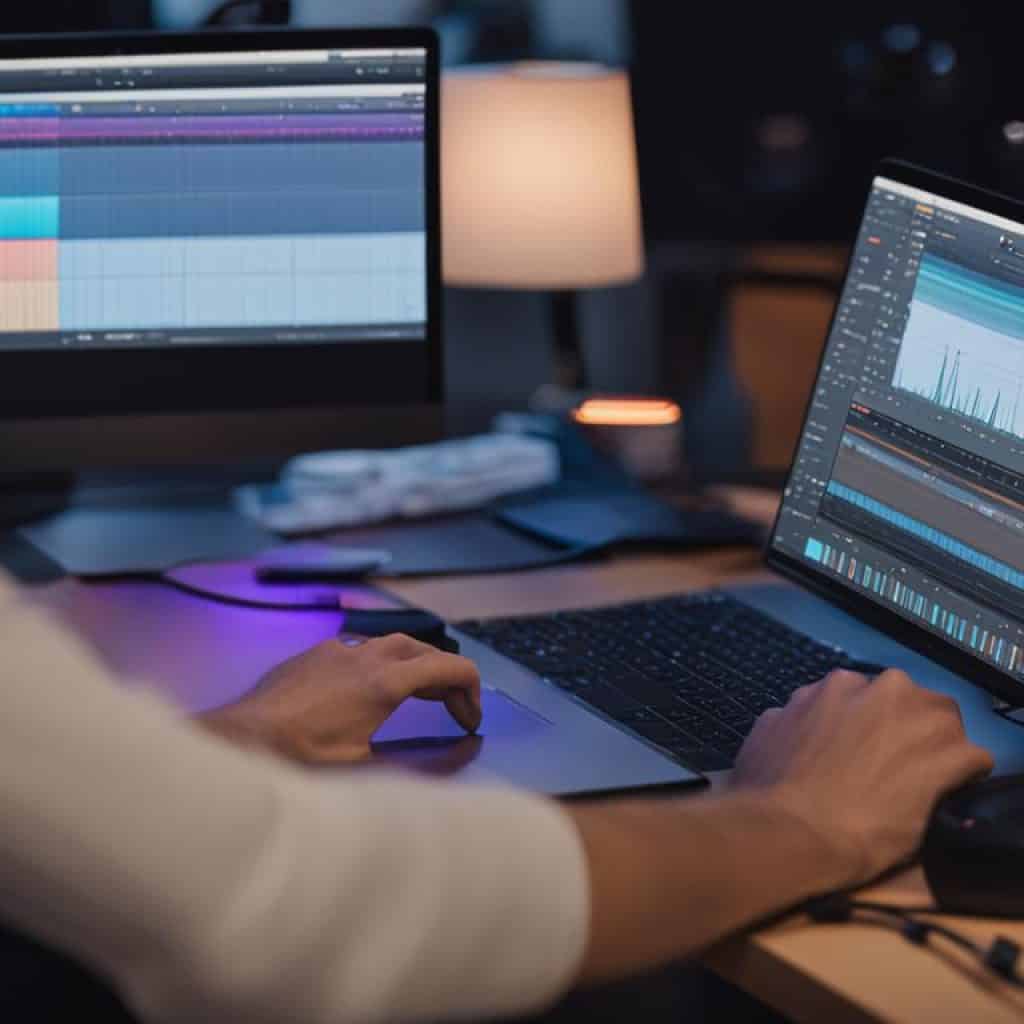
When it comes to creating professional-quality audio for your vlogs, GarageBand’s role in post-production is crucial. This versatile software offers a range of tools and features that help vloggers enhance their audio tracks, ensuring a polished and engaging final product.
One of the key aspects of post-production in GarageBand is sound design. Vloggers can utilize GarageBand’s extensive library of effects, plugins, and virtual instruments to create unique and immersive soundscapes for their vlogs. Whether it’s adding atmospheric effects, creating custom sound effects, or manipulating audio to match the mood of the video, GarageBand provides vloggers with the flexibility to unleash their creativity and bring their vlogs to life.
Audio enhancement is another essential component of GarageBand’s post-production capabilities. Vloggers can use GarageBand’s wide array of audio editing tools, such as EQ, compression, and noise reduction, to improve the clarity and quality of their audio recordings. These tools allow vloggers to fine-tune their audio tracks, eliminating unwanted background noise, balancing volume levels, and enhancing the overall audio experience for their audience.
GarageBand also offers vloggers the ability to mix their audio tracks seamlessly. With GarageBand’s intuitive mixing interface, vloggers can adjust levels, pan audio, and apply automation to create a balanced and cohesive audio mix. This ensures that all elements of the audio, including dialogue, background music, and sound effects, are appropriately blended and complement each other, resulting in a professional and immersive listening experience.
Overall, GarageBand’s role in post-production is instrumental in elevating the audio quality and enhancing the overall production value of vlogs. By leveraging its sound design capabilities, audio enhancement tools, and mixing features, vloggers can transform their raw audio recordings into captivating audio tracks that captivate and engage their audience.
Synchronizing Audio and Video in Post-Production with iMovie
In the post-production process of vlogs, synchronizing audio and video is crucial to create a cohesive and professional final product. GarageBand and iMovie, both powerful tools in their respective domains, can be seamlessly integrated to achieve perfect audio-video synchronization. Let’s explore how this synchronization can be accomplished and how vloggers can make their vlogs truly captivating.
To begin the process, vloggers can import the audio track created in GarageBand into iMovie. By doing so, they can easily merge the audio and video tracks, ensuring that the visual and auditory elements are perfectly aligned.
“The seamless integration of GarageBand and iMovie allows vloggers to bring their audio and video together harmoniously, resulting in a truly captivating vlog experience.”
Once the audio has been imported into iMovie, vloggers can easily synchronize the tracks. They can play both the video and audio tracks simultaneously and make necessary adjustments to align them precisely. iMovie provides intuitive controls and a visual representation of the audio waveform, making it easier to synchronize the tracks accurately.
After syncing the tracks, vloggers can make further adjustments to ensure a seamless audio-video experience. iMovie offers tools for trimming, splitting, and adjusting the volume of the audio track, providing fine-tuned control over the final output.
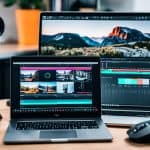
The image above visually represents the process of synchronizing audio and video using GarageBand and iMovie. The vlogger can easily align the audio and video tracks in iMovie’s timeline, ensuring perfect synchronization.
With GarageBand and iMovie’s seamless integration, vloggers can create captivating vlogs that engage their audience on multiple levels. By bringing audio and video together in perfect harmony, vloggers can convey their message effectively and provide a truly immersive experience.
Next, in Section 9, we will explore how vloggers can unleash their creativity by utilizing GarageBand’s music creation and integration techniques to enhance their vlogs’ audio.
Music Creation and Integration Techniques for Vloggers Using GarageBand
GarageBand offers vloggers a variety of music creation and integration techniques to enhance the audio of their vlogs. By leveraging GarageBand’s powerful features, vloggers can add a distinctive touch to their content and create a captivating audio experience for their audience.
Building Custom Soundtracks with GarageBand’s Built-In Loops
A great way to enhance your vlogs’ audio is by building custom soundtracks using GarageBand’s vast library of built-in loops. These loops provide a wide range of musical styles, genres, and instrumentals to choose from. Whether you’re looking for energetic beats, soothing melodies, or dramatic soundscapes, GarageBand’s built-in loops have got you covered.
To utilize the built-in loops effectively, consider the theme and mood of your vlogs. Select loops that complement your content and help convey the desired emotions to your audience. Experiment with different combinations and arrangements to find the perfect blend that enhances your vlogs’ narrative.
Creating Original Music with GarageBand’s Digital Instruments
If you want to add a unique and personal touch to your vlogs’ soundtracks, GarageBand’s digital instruments are your best friend. With a wide range of virtual synthesizers, pianos, guitars, and drums, GarageBand empowers you to create original music that truly reflects your creative vision.
Experiment with different instrument combinations, chord progressions, and melodies to compose original music that perfectly complements your vlogs. Let your imagination run wild and explore the vast possibilities that GarageBand’s digital instruments offer.
By incorporating custom soundtracks and original music created with GarageBand’s built-in loops and digital instruments, vloggers can elevate their audio content and create a more immersive and engaging experience for their viewers.
Exporting and Sharing: Finalizing Your Vlog Content with GarageBand
Exporting AIFF Files for Vlogs
Once you’ve finished editing your vlog’s audio in GarageBand, it’s time to export the final audio file. GarageBand allows you to export your audio in various formats, but for vlogs, we recommend exporting the audio as AIFF (Audio Interchange File Format) files.
To export your audio as an AIFF file, simply follow these steps:
- Select the track or tracks you want to export by clicking on them.
- Click on the “Share” menu in the top menu bar.
- Choose the “Export Song to Disk” option.
- In the Export Song dialog box, select AIFF as the file format.
- Choose the destination folder where you want to save the exported AIFF file.
- Click the “Export” button to start the exporting process.
Exporting your vlog’s audio as AIFF files ensures that the sound quality remains high and preserves the integrity of your audio throughout the sharing process.
Best Export Settings for Social Media Sharing
When it comes to sharing your vlogs on social media platforms like YouTube or Instagram, it’s important to optimize the audio settings to ensure the best listening experience for your audience. Here are the recommended export settings for social media sharing:
- Format: AAC
- Sample Rate: 44.1 kHz
- Bit Rate: 320 kbps
By selecting these export settings, you can maintain a balance between audio quality and file size, ensuring that your vlogs sound great while still being easily shareable on social media platforms. Remember to adjust the settings accordingly in GarageBand’s export dialog box.
Once you have exported your audio with the recommended settings, you can now upload it to your preferred social media platform and share your vlogs with your audience.
Sharing vlogs with the world is an exciting part of being a vlogger, and with GarageBand’s exporting capabilities, you can confidently deliver high-quality audio that enhances the overall viewing experience.
Maximizing GarageBand for Apple Device Users
GarageBand, Apple’s popular music production tool, offers a seamless integration experience for Apple device users. Whether you’re using a Mac, iPad, or iPhone, GarageBand is designed to optimize your vlogging workflow within the Apple ecosystem. By leveraging the capabilities of GarageBand across different Apple devices, you can take advantage of its features and functionalities to enhance your vlogs.
Using GarageBand on your Apple device provides numerous benefits for vloggers. First, it enables easy file transfer between your devices, allowing you to seamlessly move your vlog audio and projects from one device to another. This convenience ensures that you can work on your vlogs anytime and anywhere.
Furthermore, GarageBand offers seamless iCloud integration, ensuring that your vlog projects are automatically synced across your Apple devices. This feature eliminates the hassle of manual file transfers and ensures that you can access your projects from any device with ease. Whether you start editing your audio on your iPad and later switch to your Mac for final touches, GarageBand ensures that your progress is always up to date.
Additionally, GarageBand’s portability makes it an excellent choice for vloggers who are constantly on the go. With GarageBand installed on your iPad or iPhone, you have a powerful music production tool at your fingertips, allowing you to record, edit, and create high-quality audio wherever you are.
To maximize your vlogging experience with GarageBand, take advantage of its seamless integration within the Apple ecosystem. By using GarageBand on your Mac, iPad, or iPhone, you can optimize your workflow, streamline your creative process, and ensure a seamless audio production experience for your vlogs.
Optimizing Your Vlog’s Audio for Mobile and Web Platforms
Optimizing audio for mobile and web platforms is crucial to ensure that your vlog’s audience enjoys a consistent and immersive listening experience. With GarageBand, you have the tools to optimize your audio for different platforms, allowing you to reach a wider audience and enhance the impact of your vlogs.
Adjusting Frequencies for Phone Speakers
When optimizing your vlog’s audio for mobile platforms, such as smartphones and tablets, it’s important to consider the limitations of phone speakers. These speakers may not reproduce all frequencies accurately, leading to a loss of clarity and detail in your audio.
To counteract this, consider adjusting the frequencies in your audio tracks to compensate for the limitations of phone speakers. Boosting the higher frequencies can help compensate for the lack of clarity, while reducing the lower frequencies can prevent distortion or muddiness.
Experiment with different frequency adjustments and regularly test your audio on different mobile devices to ensure optimal playback on a variety of phones.
Understanding Audio Levels for Online Audiences
When it comes to web platforms, understanding audio levels and dynamics is key to providing an enjoyable listening experience for online audiences. Online platforms, such as YouTube or social media, often compress audio files, which can impact the sound quality if not properly handled.
To optimize your audio levels for online audiences, aim to maximize the perceived loudness without causing distortion or clipping. Balance your audio levels to ensure that softer parts are still audible, while louder sections do not overwhelm the listener.
Regularly monitor your audio levels and use tools like GarageBand’s built-in meters to help you gauge the loudness and make necessary adjustments. By maintaining appropriate audio levels, you can deliver professional-quality audio that retains its integrity even after compression on web platforms.
GarageBand as a Comprehensive Podcasting and Vlogging Solution
GarageBand is not only a versatile software for music creation, but it also serves as a comprehensive solution for podcasting and vlogging needs. With its powerful audio production capabilities, intuitive interface, and advanced editing tools, GarageBand empowers podcasters and vloggers to create high-quality audio content with ease.
As a podcasting solution, GarageBand provides the necessary tools for recording, editing, and producing professional podcasts. Its user-friendly interface allows podcasters to easily record interviews, discussions, or monologues, with the ability to edit and enhance the audio to perfection. The extensive library of audio effects, filters, and plugins enables podcasters to add depth and richness to their episodes, ensuring an immersive listening experience.
For vloggers, GarageBand offers a comprehensive set of features to enhance the audio quality of their video content. Whether it’s recording voiceovers, adding background music, or editing audio tracks, GarageBand provides the necessary tools and flexibility to create captivating vlogs. With its easy-to-use interface and extensive editing capabilities, vloggers can effortlessly synchronize audio with their video footage, adjust audio levels, and apply effects to elevate the overall production value of their vlogs.
Furthermore, GarageBand’s seamless integration with other Apple devices and software, such as iMovie, makes it a preferred choice for podcasters and vloggers within the Apple ecosystem. The ability to transfer audio files effortlessly between GarageBand and iMovie simplifies the post-production process, allowing for seamless synchronization of audio and video tracks.
With GarageBand, podcasters and vloggers can take advantage of a comprehensive suite of recording software and podcast editing tools, ensuring a streamlined and efficient workflow. Its intuitive interface and robust features make it an ideal solution for both beginners and experienced content creators, enabling them to produce professional-quality audio content that captivates their audience.
“GarageBand is an invaluable tool for podcasters and vloggers, providing a comprehensive solution for audio production and editing. Its extensive capabilities and user-friendly interface make it the go-to software for creating engaging and high-quality content.” – [Author Name]
Conclusion
Recap of GarageBand’s Versatility for Vlogs
GarageBand is a powerful tool that offers vloggers a range of features and capabilities to enhance the audio quality and creativity of their content. From recording and editing to music creation and post-production, GarageBand seamlessly handles every step of the vlogging process. Its user-friendly interface, audio editing tools, and integration with other Apple devices make it an ideal choice for both beginners and experienced vloggers.
With GarageBand, vloggers can set up their vlog’s sound, connect instruments and recording equipment, and capture pristine audio for their vlogs. They can also take advantage of GarageBand’s audio editing features to fine-tune their vlogs’ audio tracks with precision and creativity. Furthermore, GarageBand serves as a comprehensive solution for podcasting, providing vloggers with advanced editing tools and the ability to create custom soundtracks.
Next Steps for Vloggers in Music Production
For vloggers looking to level up their music production skills, there are several next steps to consider. One recommendation is to explore advanced audio editing techniques within GarageBand, such as mastering, sound design, and mixing. Vloggers can also dive into music theory and composition to create original music for their vlogs using GarageBand’s digital instruments and built-in loops. Additionally, vloggers can further enhance their music production knowledge by exploring courses and workshops offered by music production experts online.
By harnessing the full potential of GarageBand and continuing to learn and expand their music production skills, vloggers can elevate their content, engage their audience on a deeper level, and stand out in the competitive world of vlogging.









Add comment